Hi Boox Popular Magazine 2024
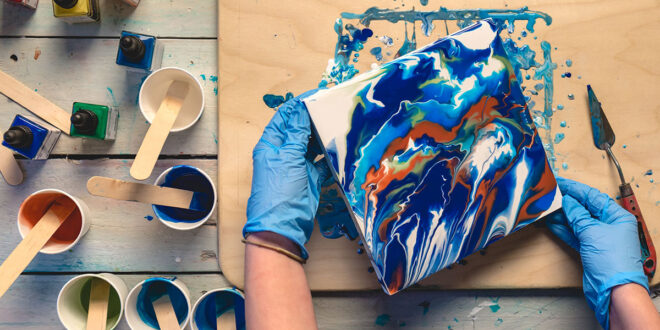
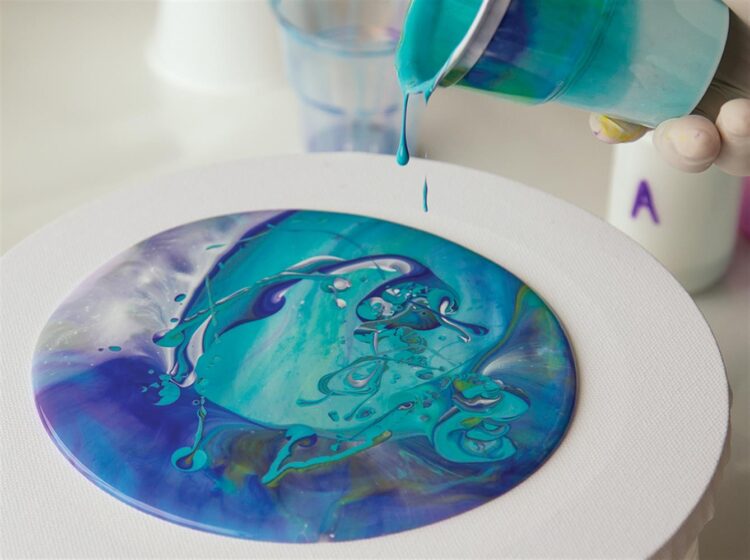
Acrylic pouring is a way of producing simply stunning works of art even if you think that you cannot draw or paint. The finished works are beautiful abstracts, with swirls and whirls of colors tracing their way across the canvas. Depending on what paint thickness you use and what, if any, additives you put in, you can achieve special effects like feathering and cell formation.
What Supplies are Needed for Acrylic Pouring?
The two basic supplies you need are canvases and paints. Your ‘canvas’ can be thick cardboard, thin sheets of wood or actual canvases – the only real requirement is that they will be impermeable enough that the paint will sit on top of the surface, rather than soaking in.
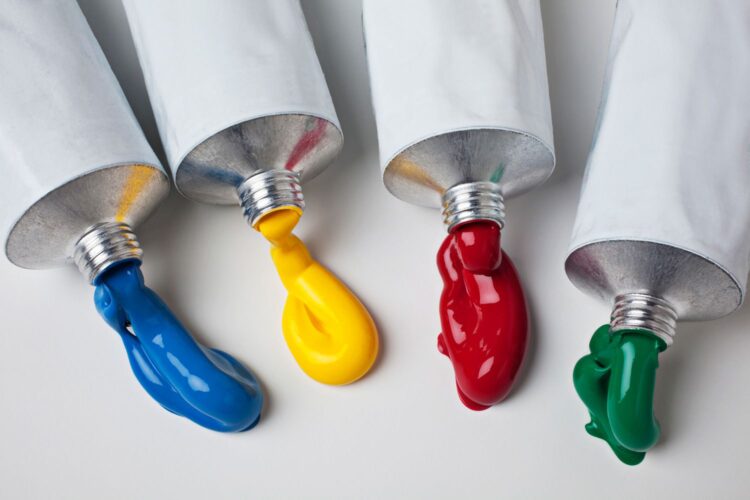
Standard acrylic paints can be used, but you are better off with a thinner consistency paint, runny rather than solid – but the more solid acrylics can be made suitable for pouring by thinning them with a little water before you begin.
Other supplies include a pouring medium, cups, and various oils and isopropanol. You will also need products to keep your workspace protected from paint spills and the mess that can easily occur while creating these beautiful artworks.
Pouring Medium is a mixture of PVA glue, acrylic gloss medium, acrylic retarder, and water. The proportions of each ingredient are different depending on the effect wanted, and you can experiment to create your own pouring medium in order to get the affects you want from your paintings. The pouring medium should be fluid but vicious, about the texture and thickness of the cream you put onto pie or berries.
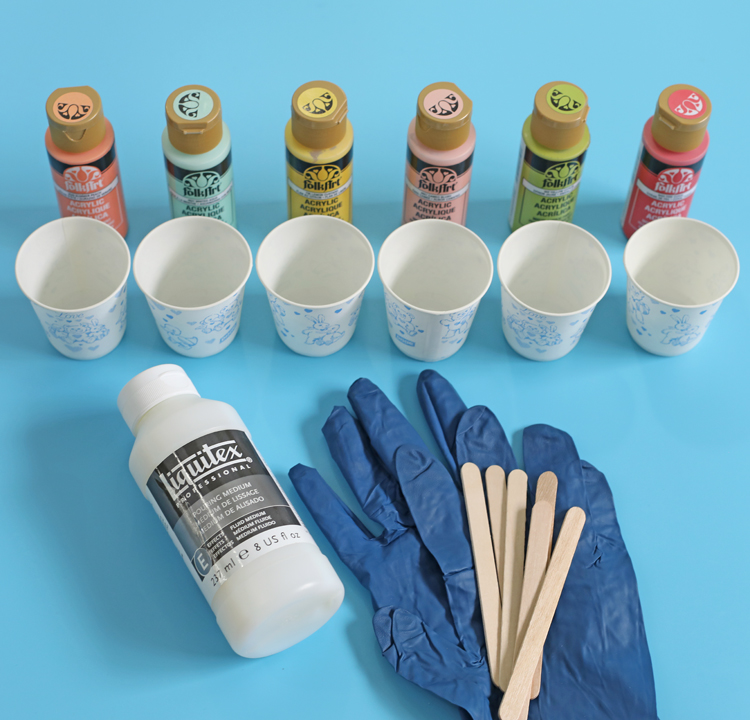
The cups can be cheap plastic ones or even disposable children’s cups. You might want to get several different sizes if your paintings are going to be different sizes, but bear in mind that a relatively small amount of liquid can cover quite a large surface area.
Additives: a drop or two of liquid silicon, some isopropanol, various oils that you have to hand – anything from motor oil to coconut oil!
How To a short beginner’s guide
Begin in a clean, clear area, and make sure that your canvas is completely flat. If it is even slightly tilted, the paint will gather at the lower edge and run away from the top edge, which can give your painting an awkward and unprofessional look. Dust and pet hair can stick into the surface of the painting, which is also undesirable. Once you have your clean level surface, ban all pets – and children too, perhaps! – from the area until the painting is mostly dry.
Layout everything you will need – once you begin, things will move rapidly, and you will not be able to leave to fetch something you have forgotten without risking spills. Put down a thick layer of paper, some plastic sheeting, or even a layer of foil: whatever you have that will work best for you. Mix all your paints with water or pouring medium, and make sure they are all at the same consistency: thick but fluid.
You can pour the paint in several ways: one color at a time, tilting the canvas to spread it over the surface and then repeating with the next one. This is good for creating crisp lines with clear divisions between the colors. Click here to see all available techniques on acrylgiessen.com.
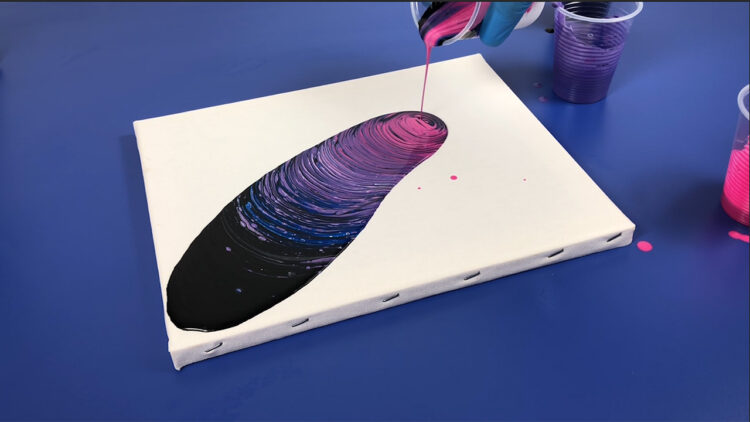
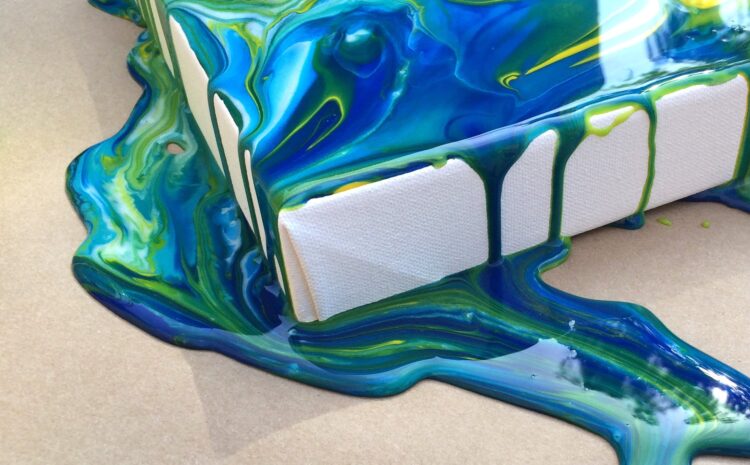
The next way is ‘dirty pour’ or ‘flip pour’. In this method, you carefully pour all the colors into one cup, being very careful not to stir them about too much – this will make the colors combine into one rather muddy shade.
Then simply pour this cup over the whole canvas, tilting and tipping the surface to achieve even coverage. This is called a dirty pour. The flip pour begins the same way, with all the colors in one cup. You then place your canvas up-side-down on top of the cup and then flip the whole lot over, so the cup is on top of the canvas. Simply lift the cup and let the paint rush out, spreading slowly over the surface and creating beautiful designs.
To make cells, experiment with a drop or two of silicon – this makes the paint react, bunching into circles and rounded rectangles. A drop of washing-up liquid creates yet a different effect, and you can try out the various oils and isopropanol too, seeing which effects are the best for your planned artwork.
Finally, allow the painting to dry completely. This can take days because of the thickness of the paint, so do be patient. Once it is completely dry, you can varnish the painting to achieve a polished, glossy look, or you can leave it as-is for a more subtle, matt effect.