Hi Boox Popular Magazine 2024

Are you tired of the limited mobility and restricted range of motion offered by your fixed shower head? If so, it’s time to consider adding a handheld shower head to your existing one. With its versatility and convenience, it can transform your daily bath routine into a spa-like experience.
Step 1: Gather the Necessary Tools and Materials
Before you begin the installation process, make sure you have the following tools and materials on hand:
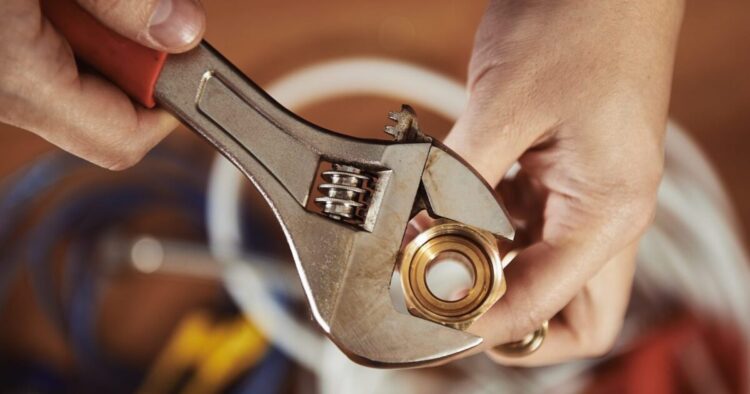
- Adjustable wrench
- Teflon tape
- Screwdriver
- Handheld shower head kit (including the head, hose, and mounting bracket)
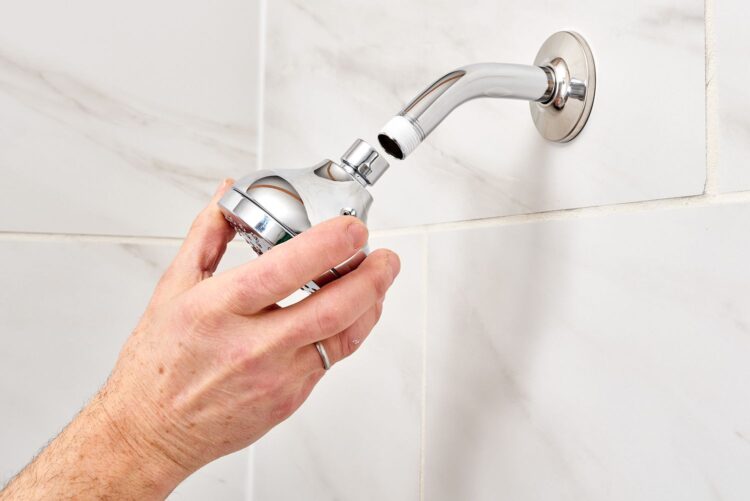
Step 2: Remove the Existing Shower Head
Start by turning off the water supply to your shower. Use an adjustable wrench to loosen and remove the existing shower head by turning it counterclockwise. It’s important to wrap the jaws of the wrench with a cloth or use a strap wrench to prevent scratching the shower arm. Once the head is removed, inspect the arm for any debris or buildup and clean it if necessary.
Step 3: Apply Teflon Tape to the Shower Arm
To ensure a watertight seal, wrap the threads of the shower arm with Teflon tape in a clockwise direction. This tape helps to prevent leaks and provides a secure connection between the arm and the shower head.
Step 4: Install the Mounting Bracket
Most handheld shower head kits come with a mounting bracket that needs to be attached to the wall. Position the bracket at a suitable height, ensuring it is easily accessible for everyone using it. Use a screwdriver to secure the bracket in place, making sure it is sturdy and well-aligned.
Step 5: Connect the Hose and Handheld Shower Head
Attach one end of the hose to the shower head and tighten it securely. Then, connect the other end of the hose to the mounting bracket, ensuring a tight connection. Test the security of the connections by gently pulling on the hose to check for any signs of looseness.
Step 6: Test the Handheld Shower Head
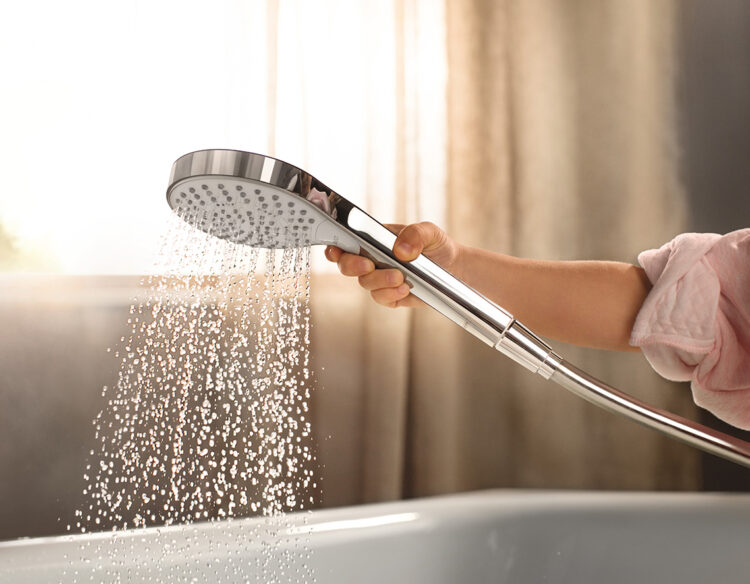
Now it’s time to turn on the water supply and test your newly installed shower head. Check for any leaks or drips around the connections. If you notice any leaks, use the wrench to tighten the connections further or reapply Teflon tape if necessary. Once you’re satisfied with the installation, enjoy the freedom and flexibility of your new handheld shower head.
Conclusion
In conclusion, adding a handheld shower head to the existing one is a simple and rewarding upgrade that brings numerous benefits to your daily routine. From increased versatility and accessibility to easy cleaning and water efficiency, this head enhances your bathing experience while adding convenience to your life.
With the step-by-step installation guide provided above, you can confidently embark on this DIY project and enjoy the freedom of a handheld shower head in no time. Say goodbye to the limitations of a fixed head and embrace a new level of comfort and customization in your daily baths.
So why wait? Take the plunge and treat yourself to the luxury and convenience of a shower head. You’ll wonder how you ever bathed without it!