Hi Boox Popular Magazine 2024
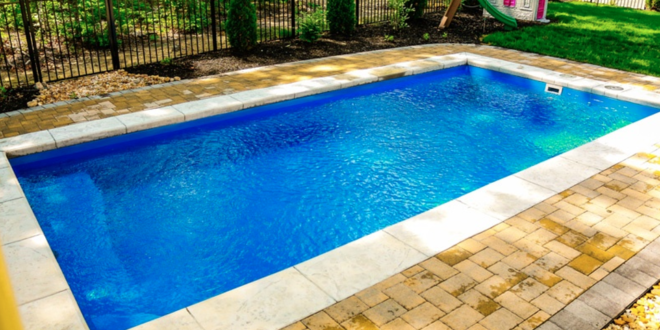
Having a pool in your own backyard is one of the best things you can do for you and for your family. Just imagine all those summer days where you can take a swim, relax or just sit by the pool and enjoy your time. Installing a swimming pool may be an expensive thing, but if you decide to build a fiberglass unit on your own, you can save a lot of time and money.
Here we are going to walk you through the process of building a swimming pool in your backyard and how to do that correctly. Follow this guide and remember to take your time. Double-check everything and have patience every step of the way.
Make a plan and get all the needed permits
The first thing you need to do if you are interested in installing and building a pool in your yard is to get all the licenses and permits. You need these documents no matter the material you are going to use. If you don’t do this before you start the building process, you may end up having to deal with all of that later, or in the worst-case scenario, you will have to cover the unit after you’ve spent a lot of time and money.
Learn about the restrictions and registrations and find out which permits you are going to need. If you are not sure what you need to do, you can contact a professional building service, or your local office and ask them what you need to get.
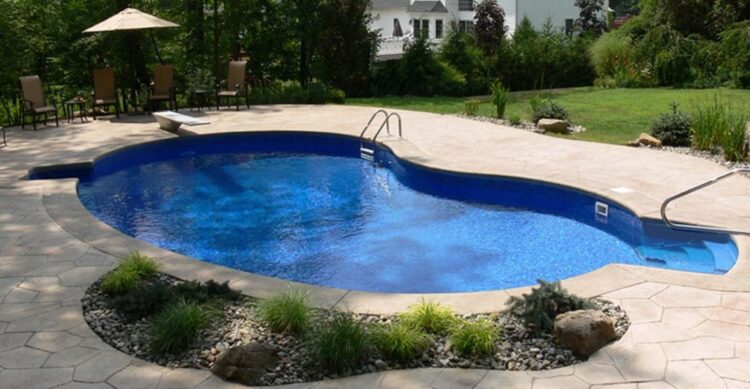
Make a plan where you want to install the unit and think about the needed space. Make sure you leave enough room for the patio, sunbeds, and other things that will be placed next to the unit.
Measure and mark the space
After you are done with the initial plan and once you have everything ready, you need to make some measurements and mark the space where the pool is going to be located. For this thing, you need to be really careful and double-check all the numbers. You don’t want to end up with a crooked unit or something that is not correctly made.
Write down all the measurements and mark the exact shape of the unit. If you want to install the standard pool shape, then you just need to make sure that everything is parallel. If you want to play around with shapes, then it is better to use something (for example, previously cut cardboard) as a guide. You can use chalk, paint, or string for this process, just be careful of the lines not to get erased in the process.
Start with the excavation process
It is said that the hardest thing to do when it comes to fiberglass units is to get everything level. So, you need to be careful when you do the excavation process and take all the time you need to do it correctly. You will need special equipment to get everything right and to finish things with ease. Even though you can manually do some of the diggings, it is definitely not recommended. If you want to cut your time in half, you can click here to learn how a professional service can help you do things correctly and on time.
Start by digging on the sides and make them as vertical and as level as possible. If you plan on the unit to have a shallow and deep-water side, then remember that you need to do a diagonal digging and to check the measurements all the time. Experts recommend that the best depth is about one meter on the shallow end and less than two meters at the deep end. However, these things depend on your personal preferences. You should dig two inches (5 centimeters) below the wanted depth so that when you install the fiberglass everything will come into place. It is said that the best way to make sure that everything is level is to use a string that will guide you when it comes to the vertical and parallel lines. Once again, take your time with this and double-check all the measurements. It will be hard to correct things once you start the bedding part.
Bed the pool and place the shell

Once you are done with the excavation, you need to lay sand in pool. This process is called bedding and you can use bricks that will temporarily guide you about the depth and the amount of sand you will need to use. When you put the sand in, remember that it needs to be wet, so it can be made really compact with ease. You need the sand to be compact so there are no empty spaces in between that will fall down in time and possibly damage the unit.
When it comes to installing the fiberglass, it is best if the shell is previously compiled so you will only need to place it in the hole. If it is not, it’s better to ask for help for this part, as it is almost impossible to do it alone. Once everything is set in place and the shell is made, you can use a crane to lower it down in the correct position. Renting a crane for this task will not cost you more than $500 and it is best to invest the money in this so you can make sure that everything is done correctly.
Fill the pool with water
When you are done with everything else, you should double-check if things are correctly set in place and there are no places from where the water can leak. Check to see if there is any damage or any small holes in the material.
If everything is done, then you should fill the unit with water. Once again, you should use a string to know how much water you need to put in. Remember that you are going to need a filtration system and a pump so you can maintain the cleanness of the pool.
Now you have your own fiberglass pool and you can enjoy it all summer long! If you don’t want to risk making any mistakes, it is better to call a professional service that will help you with the whole installation process. If you decide to do this DIY project on your own, you should know that everything, including the equipment rental costs, will cost you about $7,000. This price depends on your location and the material costs as well.