Hi Boox Popular Magazine 2024
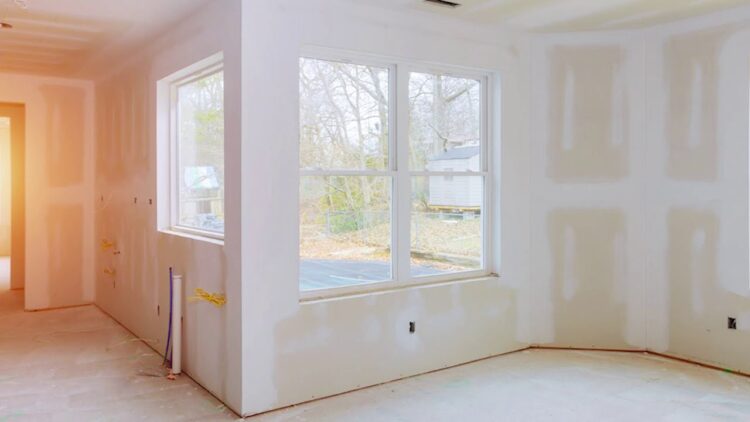
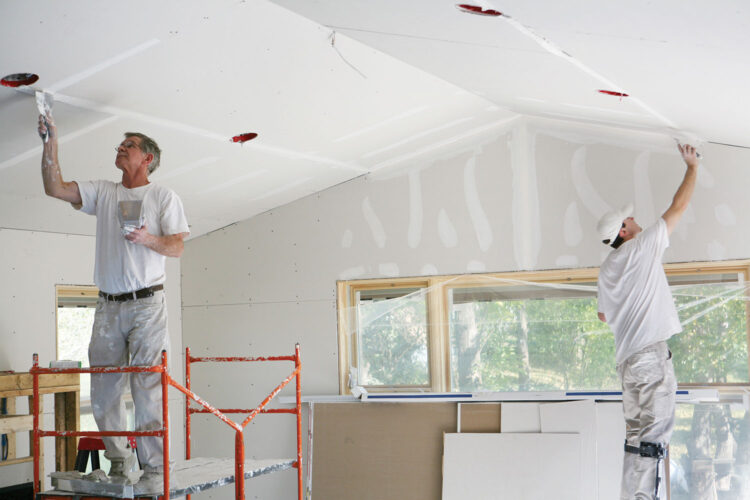
Drywall has become the standard material for most homeowners’ walls and ceilings because it is durable and inexpensive. After hanging the drywall, you can choose the level of finish you want, depending on your budget. Skim coating, a level 5 finish level, hides imperfections and ensures the surface is smooth and even.
Typically, the national average cost for skim coating walls is about $0.98 per square foot, with a range of $0.90 to $1.07. This price is for labor and materials. You can pay about $0.34 per square foot for materials alone, coming in between $0.32 and $0.37.
For a typical 300 square foot project, expect to pay about $294 with a range of $270 to $321. The actual price depends on your location, condition, finish options, and project size.
|
Cost To Skim Coat |
|
| National Avg. Materials Cost per square foot |
$0.34 |
|
National Avg. Cost (labor and materials) for 500 square foot |
$492.34 |
|
National Cost Range (labor and materials) for 500 square foot |
$450.91 – $533.77 |
The average cost to skim coat drywall
Here is a summary of the average cost to skim coat drywall.
|
Cost to skim coat |
|||
|
QTY |
Min price |
Max price |
|
| Cost to skim coat |
Per sq. ft. |
$0.90 |
$1.07 |
| Cost to skim coat – 1 layer |
Per sq. ft. |
$1.10 |
$1.30 |
| Cost to skim coat a room |
10 x 12 |
$108.00 |
$128.40 |
| Labor cost to skim coat |
Per hr. |
$50.00 |
$100.00 |
| Skim coat material cost |
Per room |
$60.00 |
$150.00 |
| Cost to skim coat 2 rooms |
2 rooms |
$216.00 |
$256.80 |
| Cost to skim a standard house floor |
5 rooms |
$540.00 |
$642.00 |
| Skim coat standard 1500 sq. ft. house cost |
1500 sq. ft. |
$1,300 |
$1,600 |
Cost to skim coat drywall per square foot
The average cost to skim coat drywall per square foot is about $0.98, with a typical range of $0.90 to $1.07. This cost is inclusive of materials and labor. However, the actual price will depend on the project size, complexity, finish option, condition, and location. Although skim coating may seem like an unnecessary step, it is essential because it hides imperfections and creates an even finish. Click here to know more about the average cost.
Cost to skim coat drywall for 1 layer per square foot
The average price to skim coat one layer is about $1.20, coming in between $1.10 and $1.30 per square foot. Although one layer of skim coat is okay, it is advisable to apply two skim coat layers for consistency, especially if the surface suffered from major damage. More so, the surface will be smoother and more appealing with two skim coat layers.
Skim coat labor cost
Skim coating is quite intense, and it involves prepping, sanding, hiding imperfections, mixing, and applying mud spot sanding smoothing. It can take about 4 to 6 hours to complete a 500 square foot project. This project’s labor cost ranges between $250 and $350 or about $50 to $100 per hour.
While different professionals may offer different rates for the project, you should always choose the most reasonable cost. Also, ensure you request a detailed estimate to have an idea of all the costs involved.
Skim coat materials and tools cost
If you plan to DIY the project, you will need several tools and materials for the project. These include:
- Tools: 4-in1 screwdriver, mud pan, paint roller, paintbrush, putty knife, and sanders, among others.
- Materials: Sandpaper, drywall compound, primer, paint, or texture paint.
Before you begin the project, you will need safety gear such as eye protection and a safety mask to prevent dust and debris from reaching your mouth, nose, and eyes. A drywall sealer will prevent the board from moisture, while a mud pan will hold the drywall joint compound.
The putty knife is used to fill in holes with the mud and smooth the surface. The paint roller will be used to apply primer before and after skimming to ready the surface for texturing or painting.
The process of skim coating
Having a general overview of the skim coating process is essential even if you plan to hire a professional to do the work. However, if you plan to DIY, you must know exactly what you are doing to avoid making mistakes. Whether you are building a new home or remodeling your current one, the following steps should be followed during skim coating.
1. Preparing the surface
Before skim coating, the walls, prepping should be done first. Preparing includes cleaning the surface to get rid of dust and debris if the walls are older. For new walls, cleaning may not be necessary. Also, any holes or nicks will need to be patched/repaired using a joint compound in case there are any visible damages. After that, a high-quality drywall primer is applied on the surface and left to dry.
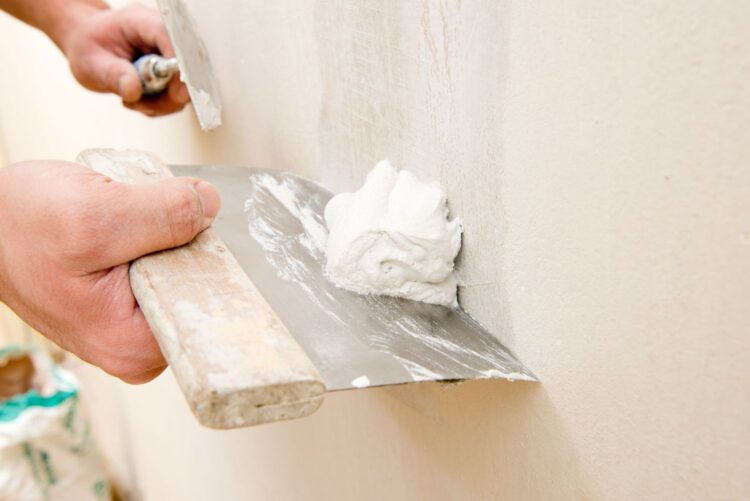
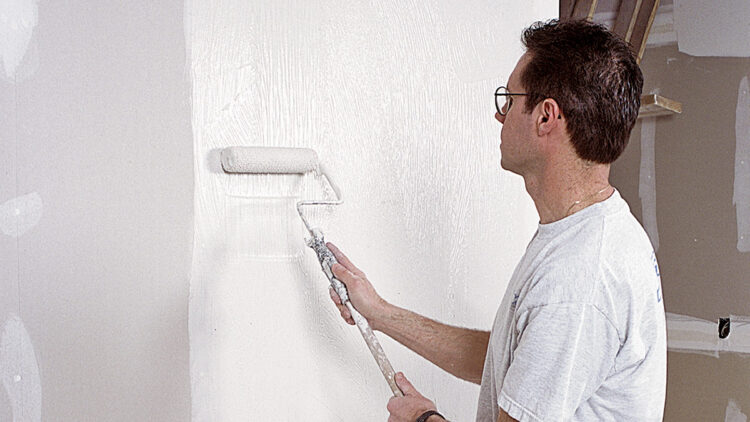
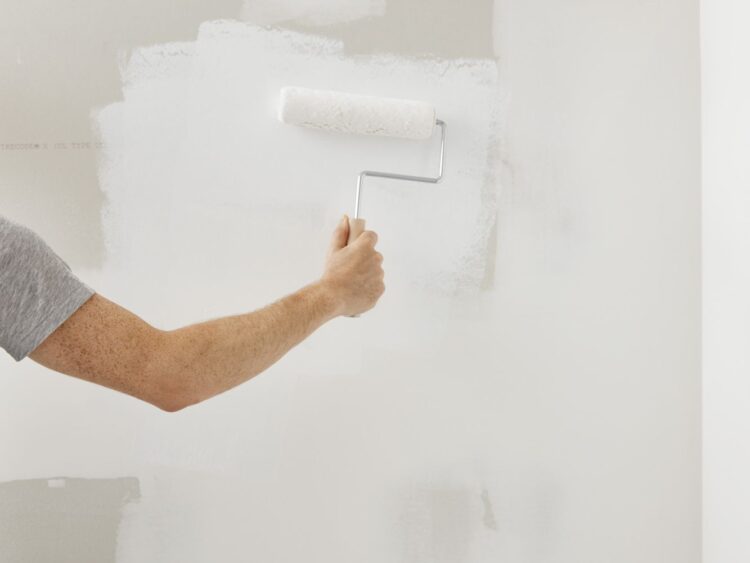
2. Apply the joint compound
After the primer dries, all-purpose mud is applied to the surface. The professional works in small sections and smooths out the mud before it dries. The joint compound is usually slightly thinned and applied using a heavy-nap paint roller. The application should be smooth and even ensure a consistent finish.
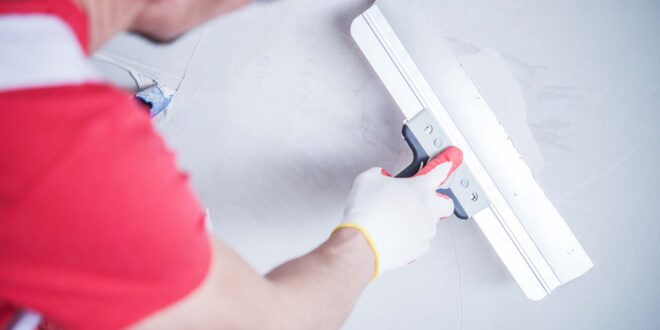
3. Smoothing the wall
Once the joint compound is applied, a squeegee knife is used to smooth it out further. The contractor starts from the top and slowly smooths the surface section by section. To make sure that every area is evened out, the contractor overlaps each vertical pass.
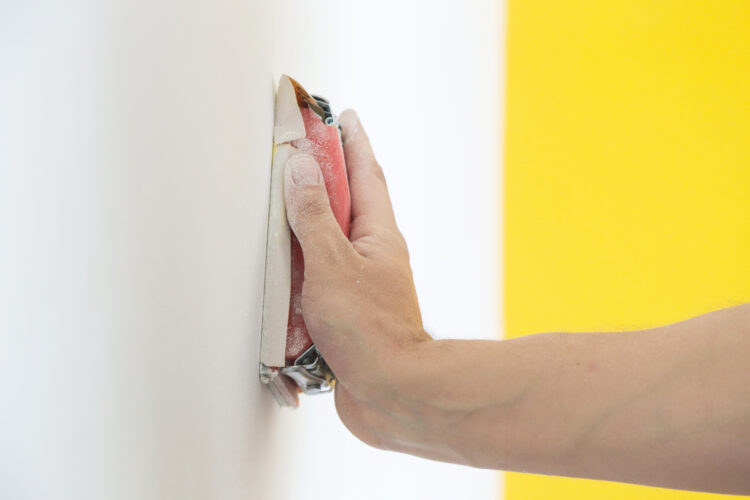
The joint compound is dried and checked for any imperfections. The professional then sand the surface to get rid of the remaining lumps and mud lines. The second coat of skim coat is applied if necessary, and the process is repeated.
4. Applying more layers
Typically, most skim coat projects require at least two layers of joint compound. The second layer is applied if the surface has imperfections or damages covered by drywall mud to ensure consistency. The drywall joint compound dries pretty fast, so the professional can apply more layers within a short time.
Once the mud dries, 100 or 120-grit sandpaper is used to sand the surface. At this point, you can prime the surface and paint it or texture it to your liking.
Skim Coat for wall repair
If your walls or ceiling have cracks and other visible damages, a skim coat is used to hide the imperfections and make the surface look as good as new. With at least two layers of skim coat, you can repair your walls and ceilings before texturing or painting.
Skim coat to renew and refresh old walls
Skim coating your walls and ceiling refreshes or renews old walls. It is an excellent way to give an older home a new fresh look without replacing the walls. So, if you are looking for an inexpensive way to refresh your home, the skim coating is an excellent option.
Skim coat to texture walls
If you want to texture your walls or change the existing texture, it is recommended to skim coat the surface first. Skim coating creates a new and even surface that makes applying new texture easy and fast. More so, it provides a smooth and even finish. So, if you plan to retexture your walls, consider skim coating first for excellent results.
The pros and cons of skim coating
Just like many home projects, skim coating has its advantages and disadvantages. It is essential to know the pros and cons before you decide to skim coat. This will help you decide whether the process is worth your time and money. The main pros and cons of skim coating include:
Pros
· Skim coating is cheaper than removing existing texture on the surface. Most homeowners prefer skim coating before retexturing the surface rather than demolishing the old texture.
· A skim coat offers a smooth and even surface for painting and texturing.
· It gives a home an elegant look and boosts natural lighting that makes the house look airy and bright. It also makes ceilings appear higher, making the home look bigger.
· Skim coating makes it easier to repair surfaces and blend textures.
Cons
· The prep work involved in the skim coating is more than opting for texturing walls and ceilings. It is also costlier and takes more time to complete.
· It requires a higher skill level.
· Dents, nicks, and damages tend to be more visible on a skim-coated surface than on a textured wall.
· It is time-consuming to DIY skim coating, so it can be a daunting process if you don’t have the time and patience.
DIY vs. Professional cost
Skim coating is not as difficult as it sounds, so you can DIY the project if you wish to save some dollars. As long as you have basic skills, all you need to do is buy the required materials and tools. You should, however, consult a professional contractor to make sure you acquire everything you need for the job.
It is, however, best to hire a professional if you are unsure of your skills. Professionals have the experience required to skim coat walls and ensure the surface is smooth and even. More so, they will complete the job within the set deadline, which is very convenient, especially if you plan to move to your new home soon.
Do It Yourself Cost
For a DIY project, you will need several tools and materials as listed above. You can spend approximately $200 for materials, which is much cheaper since you will not include labor costs. You will also need protective gear to protect your eyes, nose, and mouth from dust and debris. However, if any repairs are required, it is more convenient, safe, and economical to hire a professional.
Professional Cost
The average cost to skim coat drywall is about $400 to $500 for a 500 square foot project. The actual cost will depend on the project size, location, finish options, and job complexity. If you want professional results, ensure you hire the best contractors for the job. Also, compare several quotes before selecting a particular expert.
FAQ’s
Do you need to prime walls before skim coating?
Primer is not necessary before skim coating, but it is recommended. It seals the walls and protects them from further damage. Also, it makes skim coating easier and gives the wall a smooth, even finish. Primer also helps hide previous water damages and other visible markings that may show through the skim coat.
Can you paint over a skim coat?
Yes, you can paint over a skim coat, but you will need to prime your walls first. The joint compound is highly porous, so you will have to use several coats of paints. To prevent the paint from showing through and reduce the amount of paint you will use, priming the walls first is essential. The primer will seal the porous drywall mud and ensure the paint adheres evenly on the surface.
Can you DIY or should it be done by a professional?
Skim coating is relatively easy, and you can do it yourself to save on the cost. However, the process may be intense, especially if you are doing it for the first time. More so, you will still need to buy all the materials required for the job, which may not be cost-effective if you are working on a small project. Therefore, for a professional-looking finish, you should consider hiring professionals to do the work for you.
What is the best material for skim coating?
Drywall joint compound is the best material for skim coating. There are mainly two types of joint compounds used for skim coating. These include a ready-mixed joint compound and a setting-type joint compound. The setting compound comes in powder form that is mixed with water, while the ready-made compound does not require any mixing. You can use any of the two depending on your preference.
What is the best joint compound for skim coating?
Most professionals prefer the setting-type joint compound, especially when dealing with major damage and rough surfaces. Durabond45 is a slow-setting joint compound that is perfect for hiding imperfections and creating an appealing, even finish. It takes about 45 minutes to set and creates a strong, plaster-like surface when it dries up.
How long to wait for paint after skimming?
The joint compound dries quite fast, but it is essential to wait for about three days before painting. This ensures the surface is completely dry because there may still be wet spots that you cannot see. However, ensure you prime the surface first before painting to help the paint stick better.
Skim coating is essential to create an even and smooth surface. It provides consistency and makes the house more appealing. Although it has its own drawbacks, the skim coating is a great option for repairing holes and damages. It is also an excellent undercoat for texturing.