Hi Boox Popular Magazine 2024
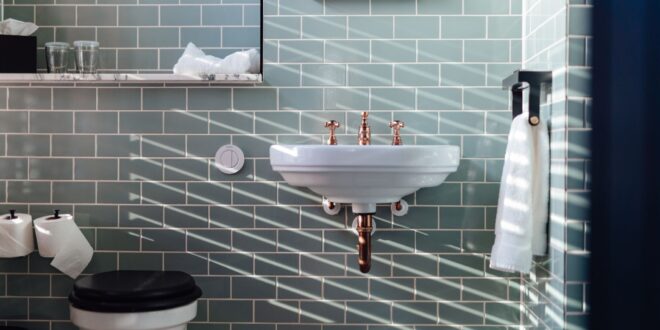
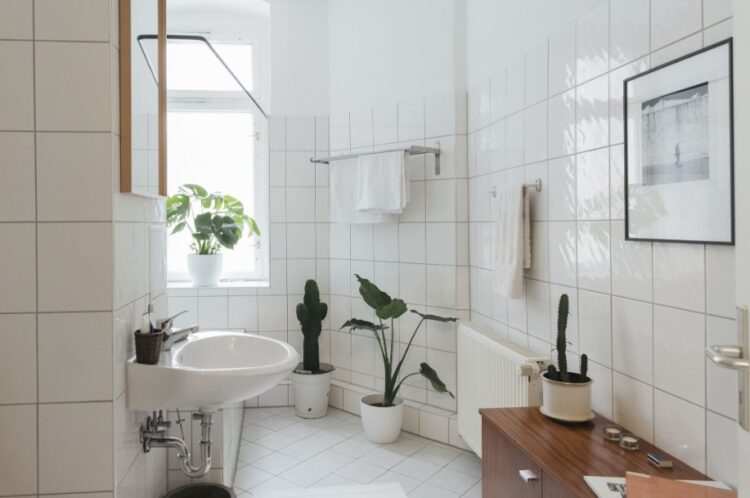
Beautiful tiles are the decoration of every home. All over the world, people pay a lot of money for high-quality, but above all, aesthetically beautiful tiles. Whether we are talking about tiles in the bathroom, kitchen, or floor tiles, their shine and good grouting can enhance the space you are staying in.
Even tiles with a high gloss or special colors get dirty very easily. Thus, if the owner of these tiles wants to always have everything neat, he will have to devote himself well to daily cleaning.
There are many tricks for cleaning tiles, whether they are non-chemical substances or with the use of chemicals. Real problems arise when the joints darken or mold collects on them. And that is a real challenge. No matter how hard you try to keep the tiles clean regularly, grout problems can surprise you overnight.
And how persistent this problem can be is best known to those who have just bought an apartment that has not been excessively maintained. In this case, the new owners usually remove all the tiles and put in new ones.
It costs a lot of money, and very often the sum exceeds the planned costs. In order not to incur additional costs, and to get the problem solved quickly, our suggestion is to call professionals such as https://www.renuehawaii.com/tile-and-grout-cleaning.
If you are one of those people who wants to solve household problems yourself, then you are reading the perfect text for you. Below we will give you the answer to the question of how to get the grime off from tile grout for little money. We will start with less invasive methods and use tools that you probably already have at home. If things don’t improve, then it’s time to attack the joints a little more aggressively.
At the very beginning, it is very important to find out what type of joint it is. Not all tiles are cleaned in the same way. In our country, there are usually two types of grouting: cement mass or epoxy mass.
If you are not sure what type it is, or if you are not sure if the agent you are using is too strong for your joints, it is best to test on a small part of the joint and the tone in a place that is not too noticeable. Even if you make a mistake, everything can be corrected.
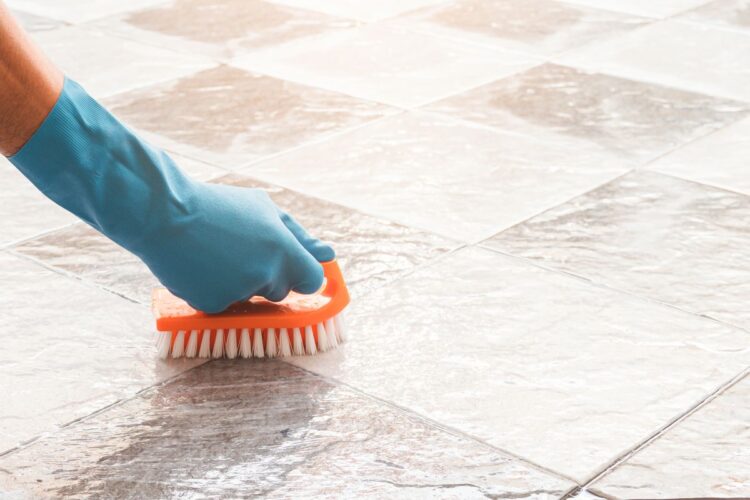
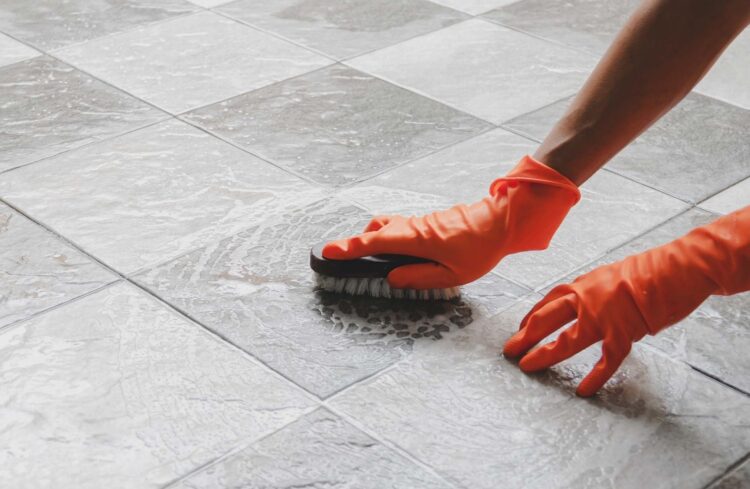
- To begin with, we suggest that you try a simple method that is not aggressive. It will give you an indication as to whether this is enough or if you should continue with something a little stronger. It is a combination of warm water and a medium soft brush. Search the bathroom or kitchen and try to find a brush that is of medium strength and it’s important that it’s not of steel. If you don’t have it in your house, we are sure you will find it in any nearby store.
If you have acquired a brush, pour warm water into the container, never hot. Wet the joints and then gently move the brush over the joints in a circular motion. The final result of your work will be visible only when the joints are completely dry.
If even after the joints have dried, you still see stains and mold, then switch to another method.
- Vinegar is known for its effective and efficient action on mold and all types of fungi. Therefore, if the first method did not give a good result, try vinegar in warm water. It is best to fill the sprayer half with a mixture of vinegar and warm water and spray the joints. It takes some time for the vinegar to do its job, so leave the sprayed joints for about 5 minutes. After that, the brush and circular movements take the stage again. Avoid this, and all subsequent methods on parts of joints that are damaged.
- We continue with increasingly aggressive methods, but we are still in the field of non-invasive cleaning agents. So, if the other method did not bear fruit either, then before spraying with a mixture of vinegar and warm water, apply the magic paste. The magic paste is actually a mixture of baking soda and water. This paste is excellent not only for cleaning joints but also for the entire bathroom, as well as for removing scale and deposits. Apply the paste to the joints, and let it sit for a few minutes. After that, spray the joints as described in method 2. This time we won’t wait 5 minutes but as long as it is enough for the foaming to finish. After that, I put the brush in my hands again. This method should remove, if not all the dirt, then at least a large part of it.
- Here we are again at the very beginning. You’ve tried every method listed and still nothing. Ok, don’t panic. We suggest that you go to the first pharmacy and buy hydrogen peroxide. You can spray it directly on the joints and brush, and if that doesn’t work, try the procedure with a magic paste (soda paste) and spray hydrogen peroxide on it. Don’t be fooled by the name of the chemical, it’s usually safe for both you and the joints.
- If you have white fingers and you want them to be free of even a single stain, we suggest oxygen bleach. We repeat this bleach is intended for white or light-colored joints. Apply it and leave it on for exactly 15 minutes. Look for this tool in a nearby store and if you are not sure how to use it, ask the seller to help you. However, it is also safe if you follow the instructions and is most often sold in powder form.
- Before you start cleaning with this agent, check if the room is well ventilated, because of the vapors that will be produced by this agent. After 15 minutes, rinse the mixture with lukewarm water, without any additives, and dry the joints with a dry cloth. This way you will be sure that the dirt will not collect again in your joints.
- If you are not satisfied with the results so far, it is best to buy a means for removing stains from joints in stores. We suggest that this should always be the last method you use because these agents can really be aggressive. Always ventilate the room and wear gloves when using these agents. Be sure to read the instructions for use below and strictly follow the indicated rules.
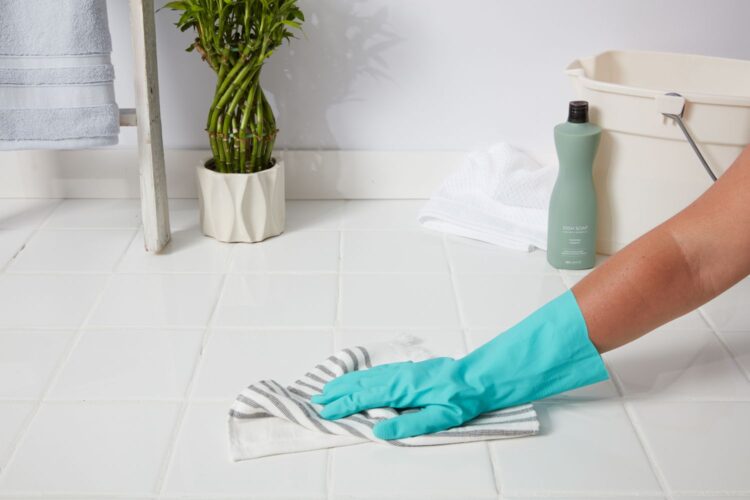
However, the best way to keep joints tidy is prevention. If you can, regularly clean the joints using non-invasive methods and tools that you can certainly find in your kitchen. In addition to regular maintenance, it would be great if you could dry the joints with a dry cloth after each soaking: after showering or washing, dry with a towel or cloth around; also after washing dishes in the kitchen, etc. Don’t forget: where there is moisture, there are fungi and bacteria.