Hi Boox Popular Magazine 2024
Have you ever wondered how some photos appear so effortlessly beautiful? Well, the reason for these perfect photos is the lovely result of editing by the professional photographers. The good thing about this is that anyone can do it even on their mobile phones. One only needs to learn how they edit, and within a short time, you would become a pro.
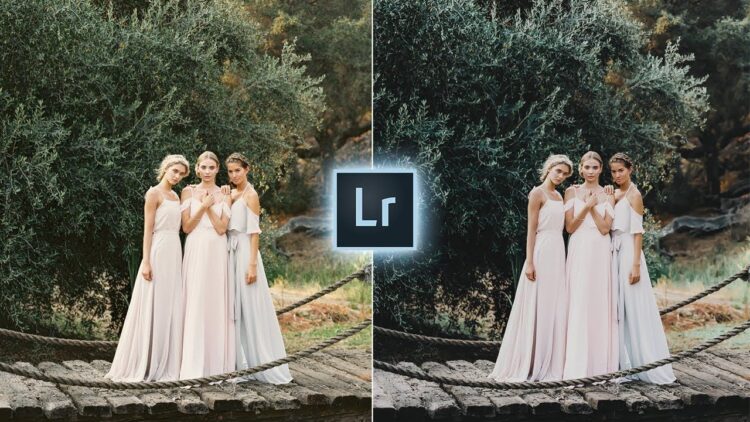
There are many tools to use when editing photos that the professional photographers use it all depends on the type of computer you are using. If you happen to use a mac, then it is the iPhoto. Many photographers have used this application as an editing tool for a long time. It is fundamental hence quite easy to use. It corrects the brightness in a photo quite beautifully. If you are using windows, then either Luminar or Adobe Lightroom are great picks. You can see a full Luminar review on Cultured Kiwi here.
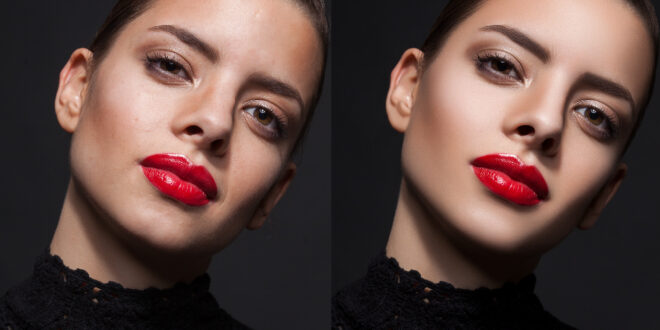
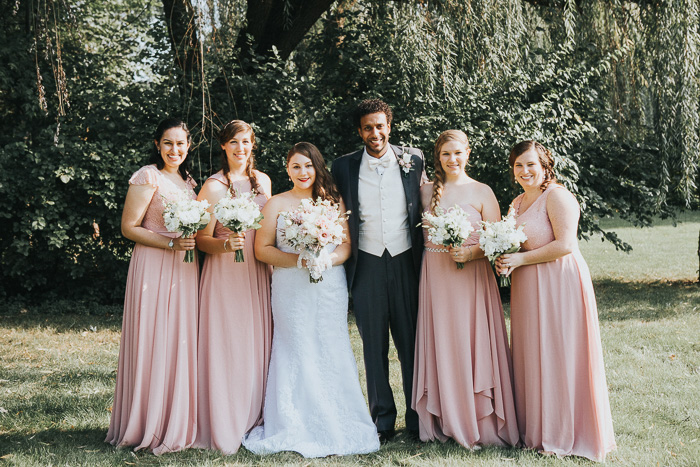
Retouching of the photo

That is usually done in wedding and fashion photography. It is generally meant to enhance the beauty of those in the photo and make them more appealing. In the digital world, they can also add digital make up. Cropping
That is the first they do when they already have the photos. It is a needed step to improve the appearance of a picture. The items found around the central point of the photo are not required. This cropping feature also involves zooming in on the object you have taken a picture of. The photo’s composition can be changed entirely while cropping. During the process of cropping, one is advised to constrain the image, which can be done in three ways that are through a square, through 6×5, and also through its original dimensions. One has to be careful not to make the photo appear too small. The recommended measurement is usually 600px.
Brightness adjustment
This step is usually done to assist in reducing the shadows found in the picture. The first thing one has to do, especially if the photo was taken indoors, is by increasing the brightness. However, it would be best if you were careful not to make the picture appear pastel or neon. The photo can also appear with large white spots, which usually occur when you have increased the brightness too much. They may also appear shiny or metallic, and they typically make the photo look bad hence the importance of being careful when adjusting the brightness.
Saturating the photo
That is usually important, especially if you have increased the brightness of a photo to a point where the picture has become pale. The aim of saturating the photo even if the photo has been taken outside is that photo’s color will be deepened; hence it will appear vibrant. That requires you to pay more attention to it and sticking to the original colors.
Balance the colors
That is usually done after increasing the brightness and saturation as the photo tends to appear as though they have a weird cast color. The most frequent colors seen are blue and yellow, and the reason for that is the light used during indoor photography. Hence if the photo seems to be yellow, one can increase the amount of blue in the picture, and if the photo appears too blue, yellow should be more intensified.
Contrast
It is a crucial step that is done by professional photographers, especially if the images taken are black and white. That, however, does not restrict you to black and white one can also apply contrast in other color images. What this interprets is that the parts of the image which were dark will appear darker, and if the parts of the model were light, then it will appear brighter.
Collage
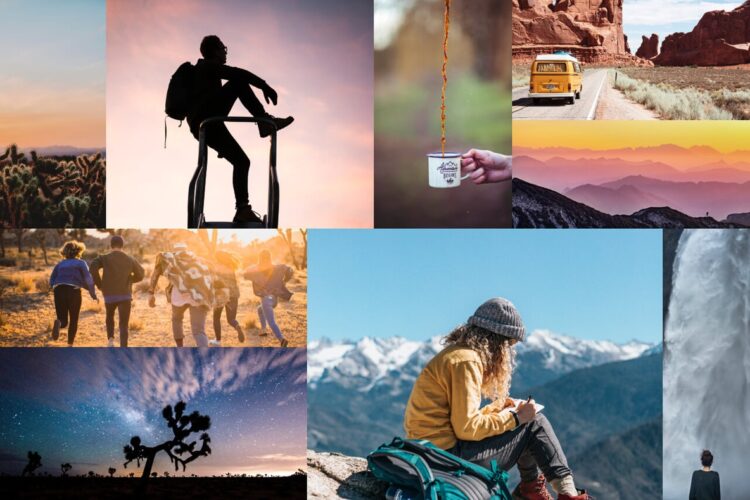
That may or may not be done as it depends on what you want. That is usually important when you want to have many shots that are detailed but are the entire same object. However, it is essential to crop your shots into squares as it will make your work easier.
The importance of editing is that it allows you to retouch mainly in fashion photography when the blemishes are still seen after the models have applied makeup. Through editing, one can alter the image background, especially if it is quite dull, or there are unwanted objects and people. The image can also be corrected to look more natural. I hope you enjoyed this article and be sure to tell me what you think in the comments section.
Finally, adding texts or phrases in your photo.
That has become very popular over recent years, and the professional photography world has joined on this step. If you want to add a text, you have to leave a space for that, and it has to be uncluttered but not necessarily a must. If you want to add a document but are short of space, you can add an overlay that comes in different shapes, and it is usually up to you to pick the form you want. When adding the text, you have to use a font that can be seen clearly.