Hi Boox Popular Magazine 2024
When it comes to giving your home a fresh, new look, a paint job is often the quickest way to achieve dramatic results. However, if you have a stucco exterior, addressing cracks and other imperfections is a crucial step before wielding that paintbrush.
A well-prepared surface not only looks better but also ensures the longevity of your paint job. In this comprehensive guide, we’ll walk you through the essential steps to repair stucco cracks effectively before you start painting.
Identifying Types of Cracks
Understanding the nature of the cracks in your stucco is the first step toward a successful repair. Not all cracks are created equal, and identifying the type you’re dealing with will guide your repair approach.
Hairline Cracks
Hairline cracks are the most common type of crack found in stucco, typically measuring less than 1/16 of an inch in width. They often result from normal settling or slight seasonal changes.
These minor fissures are generally simple to fix, requiring just a high-quality caulk to fill and seal them. It’s essential to choose a paintable caulk to ensure a seamless finish once you paint over the repaired area.
Spider Cracks
Spider cracks are a web of fine, shallow cracks that may appear over time, often due to a poor stucco mix or incorrect application.
Repairing spider cracks usually requires a bit more effort. A high-quality acrylic or silicone caulk can be used to fill these cracks, followed by light sanding to ensure a smooth surface for painting.
Repairing the Cracks
Now that you’ve identified the type of cracks, it’s time to roll up your sleeves and get to work on the stucco repair. A systematic approach will yield the best results and pave the way for a stunning paint job.
Cleaning the Area
The first step in repairing stucco cracks is to ensure the area is clean and free from debris.
Use a brush or a pressure washer to remove any loose stucco, dirt, or dust from the surface. This will allow the filler to adhere properly, providing a solid foundation for your paint job.
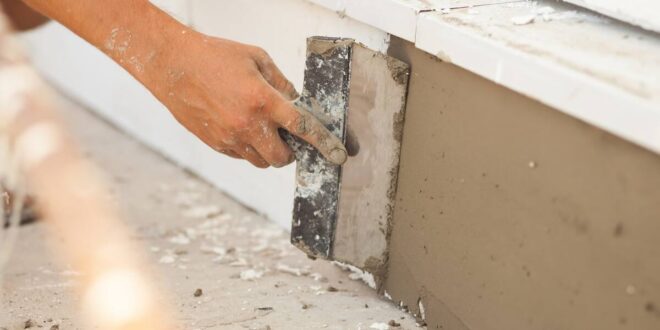
Applying the Filler
Once the area is clean, it’s time to apply the filler. Use a caulking gun to fill hairline and spider cracks with a high-quality, paintable caulk.
Smooth out the caulk with a putty knife, ensuring it’s level with the surrounding stucco. Allow the filler to dry thoroughly before proceeding to the next step.
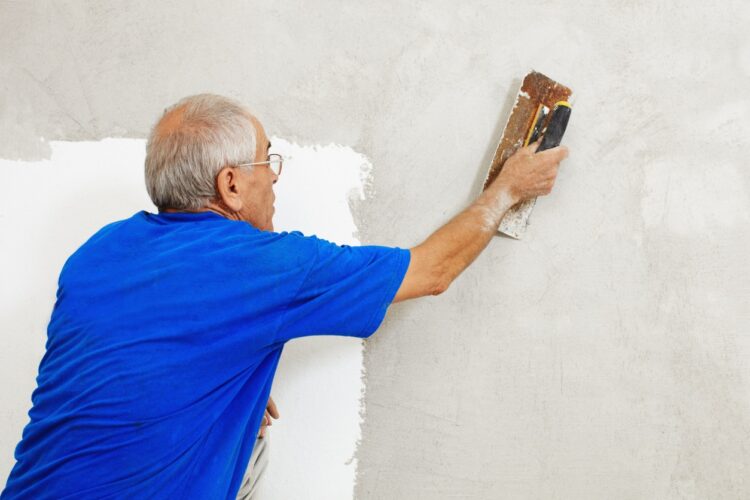
Sanding and Priming
After the filler has dried, lightly sand the area to create a smooth surface.
Next, apply a primer to seal the stucco and provide an even base for your paint. Choosing a high-quality primer that’s formulated for stucco will ensure the best adhesion and longevity of your paint job.

Conclusion
By following these steps to repair stucco cracks effectively, you’re not just prepping for a paint job; you’re investing in the beauty and durability of your home. So, take the time to repair those cracks before you dive into painting, and you’ll enjoy the results for years to come.