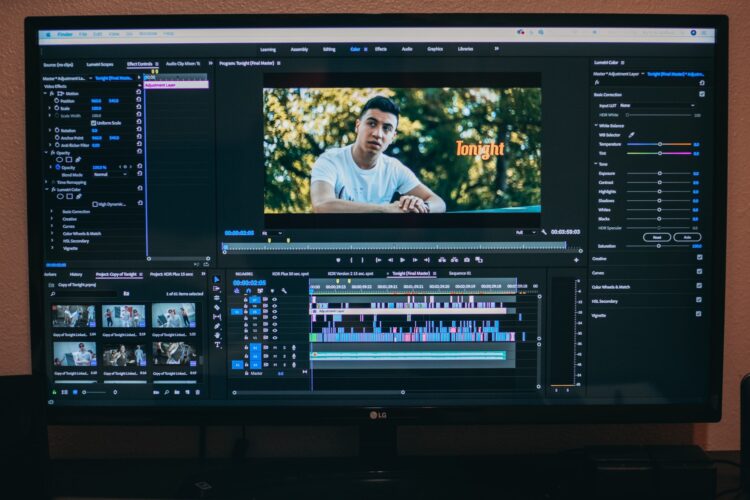
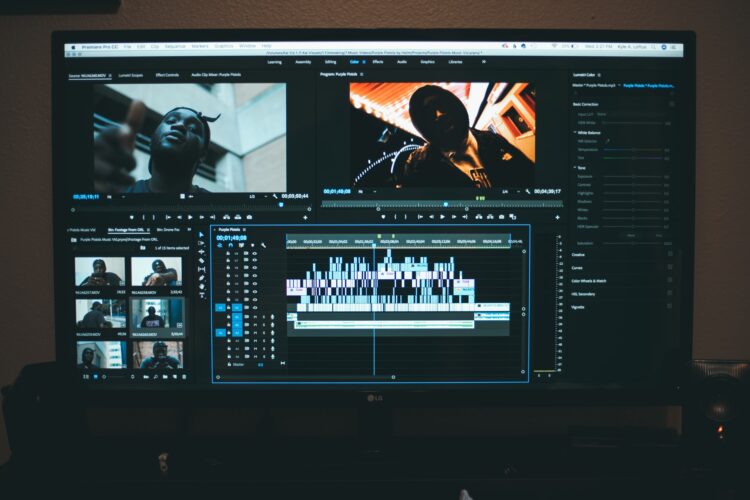
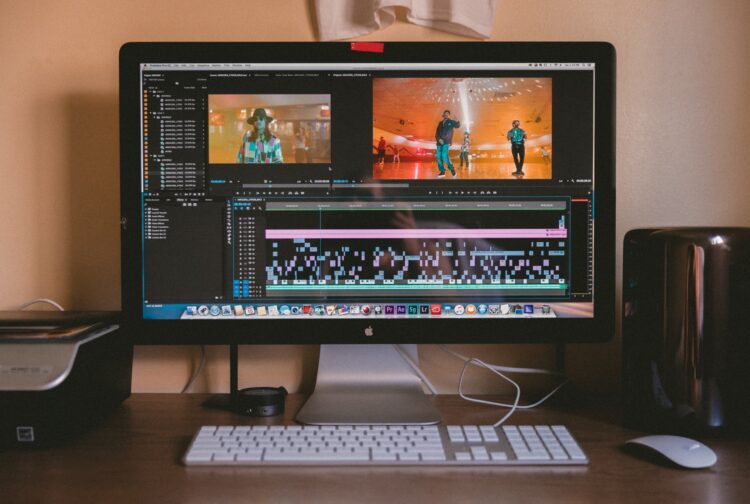
If you want to solidify your branding in your Youtube channel, then you need a stunning intro at the beginning of all your videos. Although this intro clip is short, lasting 5 to 15 seconds long, it packs a mean punch. It can capture your audience’s attention with consistent images, clips, and music. Hence, you can expect your viewers to remember your brand easily. This introduction video also wields the power to generate more leads, create engagement, and increase your conversion rates. If you want stunning videos, now is the time to leverage technology by using a Youtube Intro Maker.
An intro maker like Promo.com makes it very easy for you to craft stunning intros without breaking the bank. This free digital solution comes with an easy-to-use dashboard for easy editing. Its free templates and extensive audio-visual library makes it a tool for making your intros. However, if you don’t feel like doing your work online with an intro maker, you can also use free software like Windows Movie Maker. Microsoft’s professional video editing tool allows you to edit any time, even if you don’t have internet access. If you want to know how to do this seamlessly, take a look at the following steps below:
Step 1: Download the Tool

Before creating your Youtube intro video, you must first download this digital editing software. Though they officially discontinued this in 2017, you can still find it available for FREE download on many websites. Noteworthy, Microsoft launched the Windows Movie Maker in 2012, so it remains compatible with Windows 7, 8, and 10. After installing this, you can create your Youtube intro video, or even other Hollywood style videos with ease.
Step 2: Import the Necessary Files

When you’re crafting an intro video, you will be using video clips, photos, and audio files. There are different ways to add each element to your movie maker. Remember, intros need to be short and sweet.
Add videos and photos
Import the video and photo files you intend to use by clicking the home tab and pressing the Add videos and photos button. Press the Ctrl button to upload multiple elements at the same time. Remember, the default duration of photos is 7 seconds, so change it to suit your needs. Wait until the Movie Maker finishes preparing the files before you begin editing.
Add audio files
To add music, click the Home tab and look for the add music button. You can opt to use the same music for your whole intro. However, if you want to vary it up at a specific point, you can navigate to that timestamp in your project and choose to add the music file at that current point. More importantly, don’t forget to use copy-right free music so you will not get in trouble with Youtube.
Add voice-over or narration
If you feel compelled to say something, you can record your own voice. Firstly, click the narration button in the add tab. Secondly, hit the red record button, and from there speak using your mic. Finally, after importing your file, trim the clip to add it where you want the voice ever to be.
Step 3: Edit Your Masterpiece

The beauty of Movie Maker is you can edit your clips any way you like. This gives you total freedom and control when it comes to designing your intro. With this tool, you can let your personality shine through. You can easily move the imported files by dragging and arranging them in the order you want them to appear.
Moreover, you can trim any unwanted clips and reduce the size of a large file. First, you indicate the point where you want the clip to start. Then, you must select the video tools edit tab and set your starting point. Finally, you can go on until where you wish the clip to end and choose the endpoint.
You can also split files into smaller sections without fear of losing any frames. Using the storyboard pane, select the point that you want to split. You can also drag a vertical line over the designated pint. From there, you can just pick the edit tag under video tools then click the split button. As a result, your video gets divided into two shorter clips. Easy peasy!
Step 4: Add Exciting Transitions and Effects

Your Youtube intro would not be complete without the right flow and visual effects. Transitions ensure a smooth movement of frames. Luckily, you can select various transitions in Windows Movie Maker such as:
- Diagonals
- Dissolves
- Reveals
- Shatters
- Patterns and Shapes
- Fade
- Slide
- Abrupt
To add the transition, select the clip you wish to modify. After selecting, a blurred highlighted square will appear. From there, choose the animation tab to see the broad range of transition options. Choose the effect you believe would be most appropriate. Noteworthy, you can hover the mouse to check a preview to see if the transition is a good fit for your chosen clips.
When you add transitions, you will notice pan and zoom effects. This allows you to use a static image and make it appear as if it’s in motion. You can use this to make an illusion of motion for your normal photos. Additionally, you can add visual effects to your clips to give it added flair and pizzazz. Check the visual effects tab to see your choices.
Step 5: Add Text

Add text to your intro video as a way to introduce your brand. Put in your company information, social media profiles, and other credits. Just select the clip you want to add a caption to. After, click the Home tab and choose to add a caption. From there, an empty text box will appear where you can encode your desired text. You can vary the font size, style, and color. Moreover, you can format the text box and also apply effects to the words.
Step 6: Edit and Finalize
Do a run-through of your intro video. Double-check for spelling errors and other mistakes. After, save the file to your computer, phone, or even a USB. Then you’re free to share the video clip or add it to your longer videos.
 Hi Boox Popular Magazine 2024


